So the big idea behind Top Out is to present all the information you will need in order to better understand and deal with a potential survival situation. While the issues that could arise are never fully identifiable, there are always a few mile markers along the highway of destruction. There are undoubtedly some warning signs when examining the state of the American political and financial systems today.
With that being said, there are several key factors to survival that you need to know. Over the next couple of weeks, we’re going to cover the most essential skills you need and the supplies you should be gathering every day as you prepare.
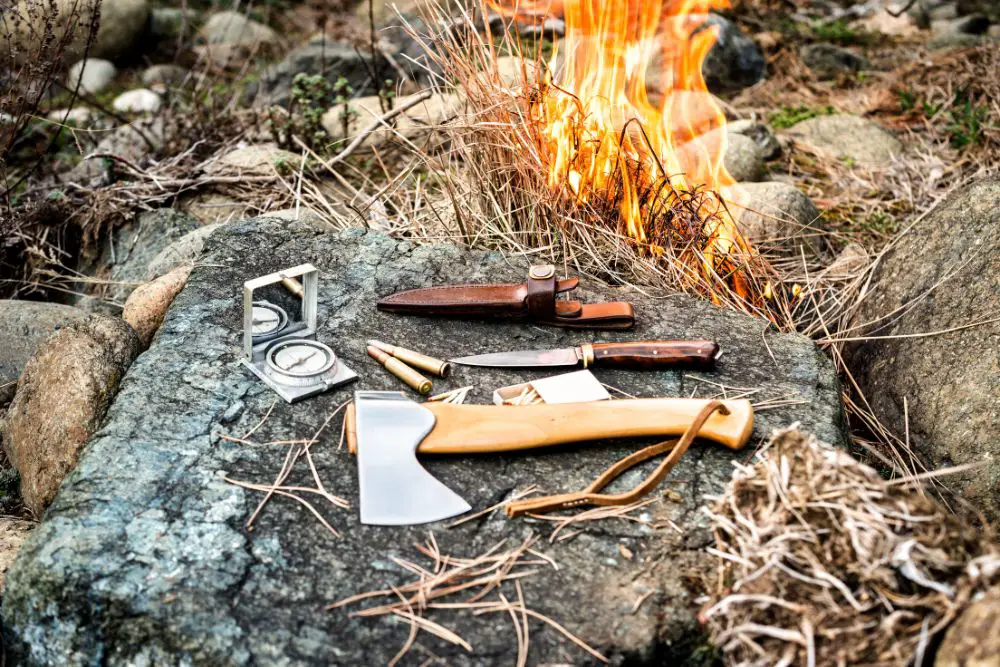
Starting a Fire
First, let’s look at one of the obvious skills you need: starting a fire. Sure, right now, fire is only a flick of the lighter away. But what happens when the matches are gone, the lighter is empty, and the fireplace has long grown cold? There are several ways that you can start a fire in a survival situation.
Friction-Based Fire Starters
Friction is the tried and true form of fire starter the world over. Friction-based fire starting is by far the most tedious and the hardest form to master. However, this is the most versatile means of starting a fire. All friction-based methods will require a bundle of tinder to catch the embers as they form.
1. The Plough
- In this method, you will need a rather flat piece of wood. You will need to carve a small groove into the plank that allows the spindle room to maneuver.
- You will also need a separate stick, somewhere around 10 inches in length and about ¼ to ½ inch thick.
- Now comes the fun part. Rub the stick through the groove continuously. As the wood heats, you will begin to see smoke. DO NOT STOP! Keep pushing the stick and your embers will emerge quickly.
2. The Bow
- This method will require a spindle, a plank, and a handmade bow that consists of a curved stick and some string.
- Take your plank and carve a small hole in the base. This will serve as the bed for your embers.
- Next, take your curved stick and tie your string to both ends of the stick. Leave a little slack in the string. Then take your spindle and wrap the loose string around the spindle. This will allow the spindle to be held securely while being able to spin freely.
- Place your spindle in the hole on the plank, and begin “sawing” your bow back and forth. This will take quite some time, so patience is key.
Flint & Steel Method
Flint and steel are always a good stand-by. Easily accessible and rather cheap, there is no reason you could not have these 2 items in any of your survival kits or bug-out bags. This method simply requires that you have a prepared tender pile. Simply rub the flint against the steel and you will have a spark!
Allow the sparks to settle into your tender pile and simply blow on the embers. It really is that simple.
Lens-Based Method
The lens method is all about harnessing the power of the sun. This method can be used with a pair of eyeglasses, a magnifying glass, and even a balloon or condom. How does this work?
- Using eyeglasses is as simple as taking your glasses off, placing them directly over a prepared tender pile, and then focusing the light of the sun onto a small point on the tender.
- The magnifying glass method is something that most people have seen or done in the past. Whether you are burning ants or starting a fire, the magnifying glass method will always work… as long as the sun is out. Simply focus the light of the sun onto a prepared pile of tender and allow the sun to do the work.
- A balloon or a condom? It can be done. Simply fill the balloon or condom with water until the item is ¼ of the way filled. The water will act as a lens. All you will do is squeeze the balloon until you are able to form a small point of light. The rest works just like all the other lens methods.
Battery Method
This method of fire starting will require a piece of steel wool and a battery, preferably a 9-volt battery. Simply stretch the steel wool out and then apply the battery to the wool, holding the steel wool on the contacts of the battery.
Done properly this will make the steel wool glow, which will make embers that can be used to start a fire.
Fire is an essential element of any survival scenario, regardless of the location. Having these simple items in your stash is a must. Fire will give you the ability to stay warm, cook food, boil water, keep animals away, and potentially signal for help.
Water
By now, you have successfully navigated the maze of starting fires in Part 1 of our Essential Survival Skills series. So now you have heat, but what about water or a place to hide from the elements? When it comes to survival, there is nothing more important than water.
You can survive for nearly three weeks without food, but when it comes to water, you have a matter of days to find it, purify it, and drink it. But in most cases, drinking water straight from the ground can be a recipe for disaster. Let’s forgo the nastiness of describing the types of illness that can strike your body after drinking tainted water.
There are several ways that you can find drinkable water. Maybe you have a stream that runs through your yard. Maybe you are stranded in the woods and you find a small creek or even a river. But what if you are facing an urban survival scenario? How are you supposed to find water when there is nothing around for miles? Sure, you can find mud holes and even standing water in ditches, but is that really where you want your fluids to come from?
When your life is on the line, you really can’t spend time being picky. When you need water, you have to take it where you can find it. So, here are a few ways that you can clean your water.
Boiling
Remember that fire you started? Yeah, that fire serves as more than just a furnace. Boiling your water for 15-20 minutes will make your water perfectly safe to drink. Just make sure you have some kind of container that is safe to use over a fire. We love this Jetboil Cooking Pot because the lid can double as a plate if you are going to be cooking over your fire later.
Chlorine
Chlorine is a great way to purify your drinking water. Not only is this a chemical used by the majority of cities to purify drinking water, but it is an easily accessible chemical. You can buy chlorine in several different forms for a relatively low cost.
LifeStraw
The LifeStraw is a survivalist must. This straw is small, so it can be stored easily. But the best part about this straw is that it filters water directly from the source. Can you imagine drinking water directly from a pothole or a cow pasture ditch? You can learn more about the straw here.
Sand
It’s not the best filter in the world, but it will work in a pinch. Two coffee filters are really all you will need. Take one filter and fill it with sand. Take the other filter and sandwich the sand. Then run the water through the filter. It really is that simple. Here’s the bottom line, if you want to be prepared for an emergency situation, you need to think ahead about your water supply.
You should know where your nearest water supply is located and have a plan for hauling water and storing it during an emergency. Even better, keep some big barrels on hand to collect rainwater or store up water in large tanks ahead of time.
Conclusion
These are just a few of the essential survival skills that you need to know. After a disaster strikes, it is often too late to start gathering supplies or learning survival skills. That is why it is so important to be prepared before an emergency situation arises. Hopefully, this series has given you some valuable information that will help you in a time of need. Stay safe out there!