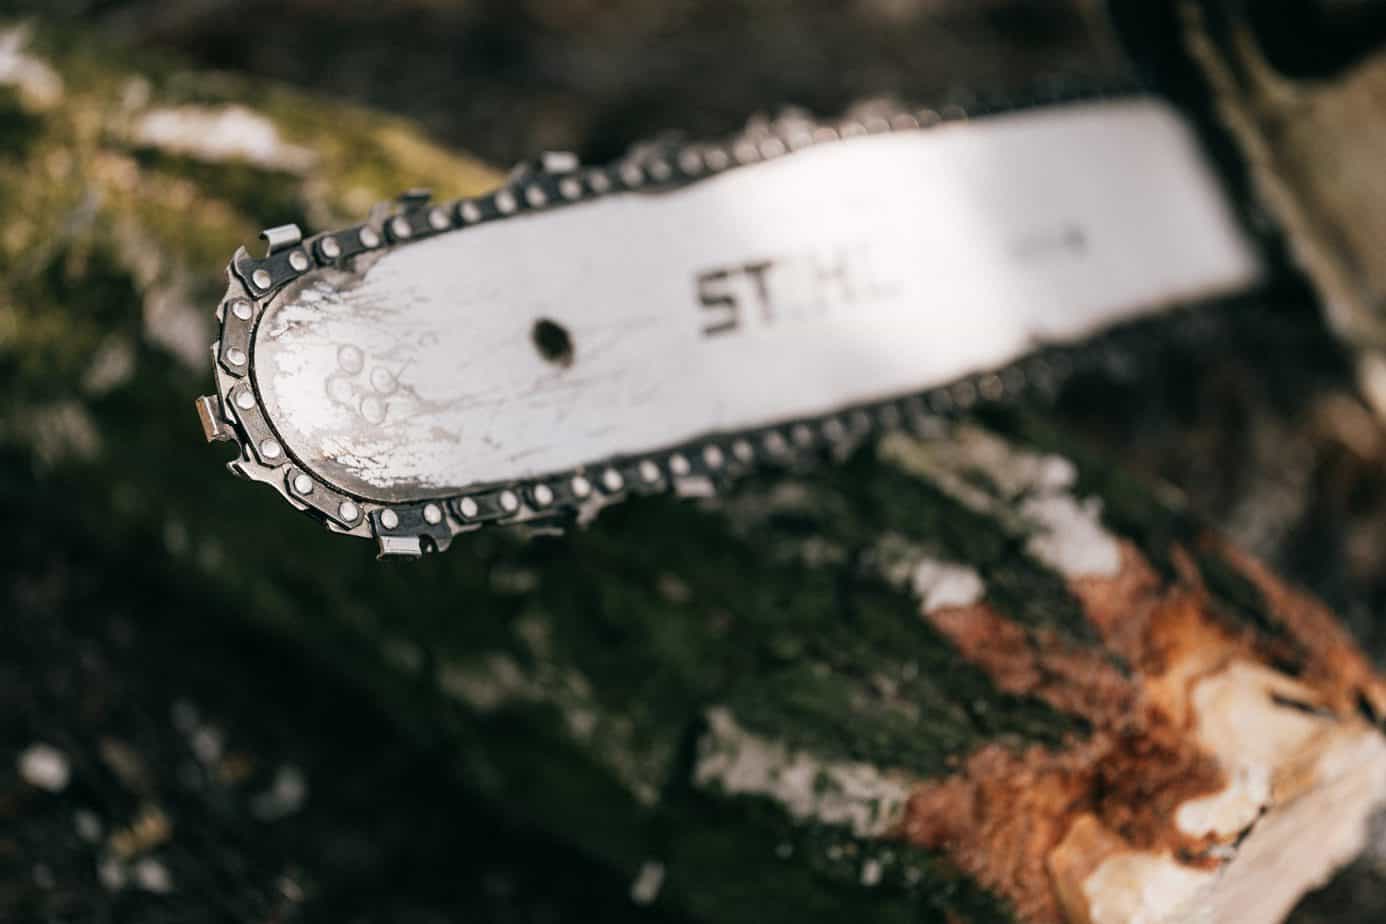
Using a chainsaw for a job the chain wasn’t designed for will result in the power tool fighting you. That means when you’re finished, you will walk away from the project with aching muscles and an exhausted, grumpy disposition. You may have unknowingly thought the chain just needed to be sharpened, but you didn’t understand that what you really needed was a completely different kind of chain.
What are the 10 types of chainsaw chains? Chainsaw chains come in more than one hundred different sizes and combinations but are all defined based on ten different qualities:
- Cutter Shape
- Cutter Arrangement
- Cutter Tip Type
- Chain Aggressiveness
- Self-Lubricating
- Self-Sharpening
- Low-Vibration
- Low Pro Chains
- Narrow Kerf Chains
- Ripping
This guide will define each of these terms and how they’re used to help you decide which chainsaw chain is best for your job.
How to Choose the Right Chainsaw Chain
Before you can know you have the right combination of chainsaw chain features, you first need to know what your options are.
1. Cutter Shape
The shape of the cutting blade comes in three different styles and each has a unique purpose:
Chisel
The chisel, or full-chisel cutter, is efficient at higher speeds but isn’t known for it’s finesse.
This blade’s teeth have square corners making it sturdier and better suited for cutting hardwoods like you’re likely to find when you are tackling:
- Cutting down trees
- Cutting off large limbs
- Cutting firewood logs
Even though this chain is able to handle tougher jobs, it has a few notable downsides:
- These chains have a higher risk of kickback, so these are not the kind of chains beginners should use.
Note: Kickback is when the top of the chainsaw bar gets pinched or the nose of the chainsaw encounters some interference and instead of continuing to cut bounces back toward the person holding the chainsaw.
- They’re not effective when cutting “dirty” wood.
Note: “Dirty” wood is wood that has been laying on the ground for a period of time or has been drug from where it was felled. It literally means there is a lot of dirt embedded in the bark. It could also refer to wood that has had nails or other foreign objects driven into it.
- Because they’re typically used in heavy-duty cutting, they’re not very durable.
Low-Profile
One of the most common types of chains used – particularly for beginners and around the yard chores.
Whereas the full chisel blade is a designed for hardwoods and experienced chainsaw operators, this rounded blade is best suited for lower running speeds. It is a blade built for user-safety to help prevent kickbacks from happening.
This blade will require more frequent sharpening and may not have the longevity of others but will provide some safety features new users will value.
Some may refer to the low-profile cutting teeth as “chipper” cutters. The reality is that chipper cutters are slightly different in that their teeth are slightly rounded, but they look more like a question mark as opposed to the half of an “s” the low-profile cutters do.
Semi-Chisel
This is the chain that’s the middle ground between the full-chisel and low-profile blades and is very reliable. While it has rounded corners, similar to the low-profile blade, allowing for a stronger grip on the wood, it can still cut through:
- Dirty wood
- Dry wood
- Frozen wood
The semi-chisel blade is designed to have less of a chance of kickback but doesn’t eliminate it altogether. This chain is also more durable than the full-chisel chain.
This blade works at a slower speed than the full-chisel blade, yet it performs extremely well when cutting through softwoods.
2.Cutter Arrangement
The cutter arrangement considers the types of blade and how far apart each cutting blade is from the next. There are three different cutter arrangements available:
Full-Skip
This is the type of chain that’s most appropriate for the larger chainsaw bars (24-inches or longer; usually at least 32-inches or longer). The arrangement of the teeth doesn’t make this kind of chain effective for smaller bars.
The full-skip chain has more distance between cutting teeth, thereby fewer teeth by distance overall. It’s an interesting dichotomy. Even though there are fewer cutting teeth, the full-skip chain actually has greater/faster cutting power.
The full-skip chain has the ability to cut larger pieces of wood faster, but, like we discussed with the chisel-blade, it isn’t designed for neat, clean cuts.
Semi-Skip
In the previous section we discussed that the semi-chisel is the mid-level for cutter shape. Similarly, when thinking about how the cutting teeth are arranged, the semi-skip is the mid-level for the arrangement of cutting teeth and spacers on the chain.
The semi-skip chain doesn’t cut through wood as quickly, but it is powerful and can provide smoother cuts than the full-skip chain. This chain is generally reserved for bars that are between 24 to 32-inches long.
Standard
The standard chain is also called the full-house chain. This chain has the least amount of space between the teeth. It also has the most teeth.
The full-house chain is another that is used on a larger bar – up-to 24-inches. It is also used with saws that include a guide bar.
If you are working on a project that requires a very smooth cut, this is the chain you’ll want to use. It isn’t able to cut as fast as the others, but it will give you a very clean cut.
3. Cutter Tip Type
Another thing you will want to consider is the material your chain’s cutter tips are made of. There are typically three different varieties of substance that are used for the cutters’ edges:
Carbide
The carbide, also known as tungsten carbide tipped chains, are the mid-level chain, and therefore, the mid-level expense for a chain. The carbide chains are:
- Able to absorb and diffuse the force associated with the cutting task.
- Able to withstand high heat temperatures with little-to-no impact on performance.
- Brittle – They can shatter into tiny pieces when they’re struck with force. Just don’t hit your chainsaw chain with a sledgehammer.
- Very strong – When treated with respect.
Emergency professionals typically use this type of chain because it is sturdy and good for cutting through things like:
- Aluminum Sheet
- Charred Wood
- Cinderblock
- Corrugated Tin
- Icy or water-logged wood in frozen ponds, lakes, rivers, etc.
- Railroad ties
- Roofs and walls
Chrome
The chrome tipped cutter chains are the most common, and affordable type of chainsaw chain. You will typically find this type of finish on the full- and semi-chisel chains.
These chains are resilient when dealing with debris and work well on wood. Chrome-tipped chains are excellent all-around chains.
Diamond
As its name suggests, the diamond tipped chains are the most expensive. That doesn’t mean they’re the best for everyone.
These chains need to be used with the bars that are designed specifically for them. Professionals who use them find them effective for cutting:
- Concrete
- Metal
- Rock
4. Chain Aggressiveness
Chain aggressiveness is kind of like thinking about dogs. When provoked, some breeds will get in there and attack with everything they have – it won’t be neat, but the job will get done. Other breeds will look tough but are really cupcakes when it all goes down. That’s a reasonable way to think of chain aggressiveness.
Aggressive
Aggressive chains are also known as full-skip chains. Their design of having two links between each cutting blade allows for low resistance cutting.
These chains are known as aggressive chains because they are used by professionals on longer bars – usually 24-inches or longer. The low resistance and the longer bar means that when, not if, the chainsaw kicks back, the person running the chainsaw that’s using an aggressive chain needs to be very experienced so they can automatically react in the right way.
Anti/Low-Kickback
The anti-kickback or low-kickback chain is at the opposite end of the spectrum from the aggressive chain. These chains have one empty link between each cutting tooth.
This chain helps prevent kickback by not being as long so they can’t cut as deep or as fast as aggressive chains. They also require less power.
Regular
The regular chain, also known as the semi-skip or skip-tooth chain is the middle-ground between the two. Regular chains have alternating two space links and one space link between each cutting blade.
This is the chain that provides power and efficiency balance between the aggressive and the low-kickback chains. It can cut through thicker wood, just not as quickly.
5. Self-Lubricating
This is actually a bit of a misnomer. The chain isn’t actually self-lubricating, but it’s designed to facilitate the lubrication that comes from the chainsaw base.
Manufacturers of this type of chain will design grooves and/or holes in the links or the cutting teeth to encourage the lubricant that flows from the chainsaw to stay on the chain.
The upside of this is that it keeps the chain well lubed as long as you keep your chainsaw in good working order. The downside is that it’s easy to forget that the lube stays on the chain and you can end up with grease everywhere when you pick your saw up after a period of time that you haven’t used it.
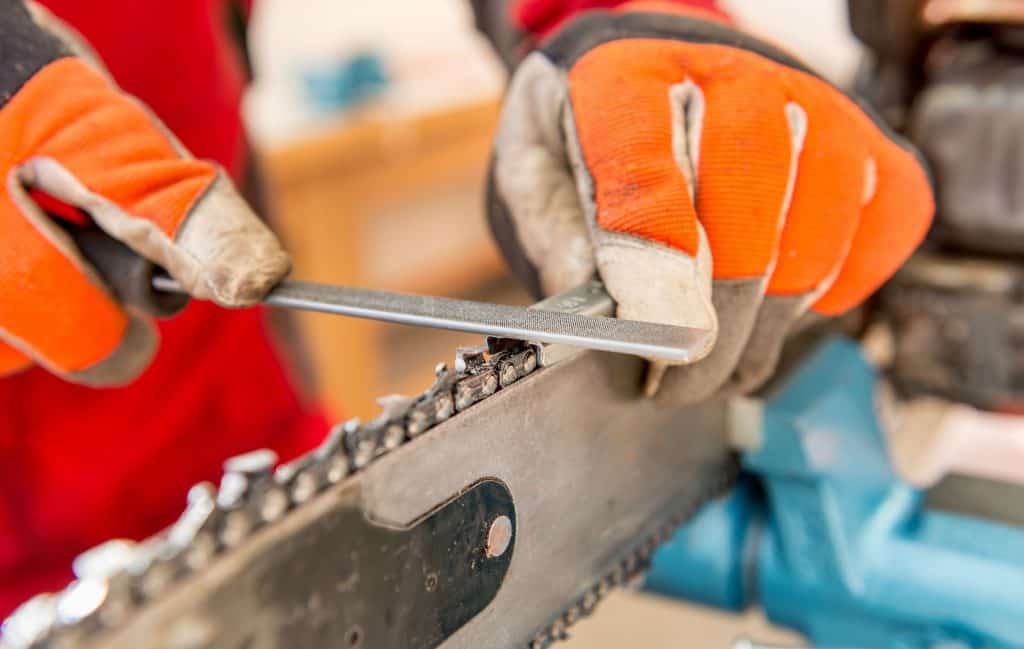
6. Self-Sharpening
If the thought of sharpening your chainsaw blade is a bit daunting and you don’t want to have to take it to the shop a couple times per season, this may be a viable option for you.
- Self-sharpening chains are designed to keep the cutting blades filed each time the chain passes the chainsaw guide bar. While it’s a great stopgap, the feature isn’t perfect.
- The chain will not always sharpen evenly, so will undoubtedly require some manual intervention to touch it up. You will still need to take it to the shop to get it professionally sharpened, you just won’t have to go as often.
7. Low-Vibration
This is a type of chain that those who regularly use a chainsaw on the job may want to consider.
Constant vibration can be hard on the user’s hands, elbows, shoulders, back, and legs. To make the industry safer, the manufacturers have created design features that put a space between the chain and the guide bar. That space acts as a barrier to reduce friction and vibration.
If you only use your chainsaw on an occasional basis, it’s probably not an investment you need to consider. If, on the other hand, it’s part of your profession, taking this precaution to decrease the likelihood that you’ll experience nerve pain, numbness, and burning would be wise.
8. Low Pro Chains
These chains are also known as low profile chains. The cutting blades on these chains are lower than those on standard chains so they make a shallower cut.
These chains usually weigh less than traditional chains – that makes sense since they have less metal to carry. The lighter weight results in less strain on the engine.
With that in mind, they work really well with electric and low horsepower chainsaws. They are limited to bars that use 72 or fewer drive links on the chain.
These, as well as the Narrow Kerf we’re going to discuss next, are often used when professionals are working on chainsaw art.
9. Narrow Kerf Chains
Just as the low pro cutting teeth are shorter than standard chains, the narrow kerf chain cutting teeth are narrower. This chain will result in a thinner, narrower cut than a standard chain would.
Although this chain doesn’t allow you to remove as much wood at a time, it lets you cut more quickly with a lower horsepower chainsaw, like an electric chainsaw.
These can’t go on any bar – they have to be put on bars that are designed to fit narrow kerf chains.
10. Ripping
If you are interested in making furniture and want to mill logs into wood planks, the ripping chain is the appropriate tool.
The cutting blades on a ripping chain cut at a 10-degree angle rather than the typical 30-degree angle other chains cut. This chain is specifically designed to cut with the wood’s grain as opposed to against it – thus cutting planks.
Even though it has an aggressive name, this is not an aggressive chain. It’s intended to allow you to make fine cuts resulting in smooth boards.
Now it Time to Figure Out what Size Your Chain Needs to Be
If these three components of your chain aren’t right, your chainsaw isn’t going to work. The items we discussed earlier are important, but these next three items make things run properly.
Pitch
This is the distance between the three rivets divided by two and is most often measured with a Vernier Caliper. The reason three rivets are the key is because it doesn’t matter where on the chain you take this measurement, it’s constant along the entire chain.
The number of space links versus the number of cutting teeth don’t impact this measurement.
This measurement can be displayed two different ways. If there’s an accurate fraction associated with the decimal measurement the fraction is used. If not, the decimal measurement is used. This table gives some common pitch examples:
| Pitch | Measurement Across 3 Rivets | Common Pitch Reference |
| .250” | .500” | 1/4” |
| .325” | .650” | .325” |
| .375” | .750” | 3/8” (Most common) |
| .404” | .808” | .404” |
The correct pitch for the chainsaw is usually found on the top of the body of your tool.
Gauge
You will also find the correct gauge measurement on the top of the chainsaw and stamped into the guide bar.
The gauge refers to how thick the chain’s drive links are and is measured in inches. The drive links are on the bottom of the chain – the opposite side of the cutting teeth.
All gauges don’t fit all chainsaws.
If the gauge is too wide it won’t fit on the bar and if it’s too small it will slip off. Neither scenario leaves you with functioning machinery.
There are typically four sizes of gauge, all of which are incredibly small and are best measured using calipers:
- .043”
- .050” (Most common)
- .058”
- .063”
Drive Link Count
This is exactly what it says it is. It’s the number of drive links on the chain – these are the links that look like miniature shark fins on the inside of the chain.
This number is also usually printed on the chainsaw. If it isn’t there, it should be in your user-manual.
If you still can’t locate the correct number of drive links for a new chain, you can count the number of links on your existing chain. One easy tip when doing this is to put a dot on the first link you’re going to count using a white, green, or red Sharpie. Make a similar dot every 10 links. This way, if you should get interrupted or lose count, you don’t have to start over from the beginning.
Chainsaw Bars
Just as there are several options when it comes to your chainsaw chain, there are also many different types of guide bars you can use.
Choosing the Right Nose for the Job
Just as each chain has a different purpose, each guide bar nose is designed for a specific kind of job.
Carving Bars
We talked about some chain features that are used when someone is working on large wood art. This is the bar that is used when an artist wants to carve.
These bars have a solid, small radius nose. They’re also lightweight because they’re typically used on smaller chainsaws. These bars can allow the carver to be fairly precise because they run smaller chains – down to about ¼”.
Narrow Nose Bars
Bars that have a narrow nose are easier to control and reduce the risk of kickback. This option is typically available in the:
- Replaceable sprocket nose bar
- Solid nose bar
- Sprocket nose bar
Replaceable Sprocket Nose Bars
This bar comes apart so you can replace the sprocket nose if it gets damaged or you want to use a different chain pitch. This can be cost effective but can also be a hazard if it’s not installed properly.
The other benefit of the replaceable sprocket nose bars is that they take the load off of the nose of the bar and transfer it to the roller bearing allowing for a more balanced cutting experience.
Solid Nose Bars
Earlier we talked about dirty wood. These are the bars that are best to use in environments that are:
- Dirty
- Dusty
- Gritty
- Sandy
- Sooty
Because those types of conditions are harder on the saw, and these bars are often used on hard timber, these bars tend to get very hot and will drain some of the saw’s power. With that in mind, they would not be effective for an electric chainsaw.
Sprocket Nose Bars
The sprocket nose bars have less resistance, so they allow the chain to move faster around the nose without significant heat or power loss.
Wide Nose Bars
Wide nose bars are effective when you need strong boring ability like when you’re felling a large tree.
Note: Boring is a technique that has a strong potential for kickback. To properly bore into a tree:
- Begin the cut with the chainsaw lower than the bar’s tip.
- Using the tip, begin boring vertically at a 90-degree angle to the holding wood.
Like the narrow nose bar, the wide nose option is also available in the:
- Replaceable sprocket nose bar
- Solid nose bar
- Sprocket nose bar
Quality Material
Not only do you have options as to the function of the chainsaw bar, you also can choose the material it’s made from.
Some bars are laminated as opposed to solid to provide greater flexibility. They’re not as strong as the solid bars, and only come in lengths up-to 24-inches, but if you need some give in your chainsaw bar, a laminated bar may be a good choice.
Husqvarna also makes a TechLite™ bar. This bar is said to be 18-percent lighter than most other bars. Although it isn’t right for all jobs, if you’re working in an area where you need to protect your strength, this could be a good option.
Chainsaw Safety
Chainsaws are considered to be the “most dangerous hand tool that can be purchased.” The reason for that is that there isn’t any required training or licensing for anyone to have and use one.
There are an average of 40,000 chainsaw-related injuries of varying degrees, from minor to lethal, reported every year. To avoid being one of those statistics:
- Before doing anything, thoroughly read your user’s manual. Each chainsaw is different – not only in size but in features the manufacturer provides. Know yours well.
- Be honest with yourself – know what you’re capable of. If the project is bigger than you think you should tackle, there’s no shame in calling a professional to handle the job. Start with simple/small projects and work your way up.
- Always inspect your chainsaw before starting a project. Make sure the chain is tight on the guide bar and that all of the safety features work properly.
- Make sure the chain brake is engaged when you’re starting your chainsaw.
- ALWAYS hold your active chainsaw with both hands. If you need to use one of your hands for something else, stop your chainsaw first.
- Practice. Practice starting, stopping, sawing. Never saw anything being held by someone else and don’t rush yourself.
- Have a buddy nearby. This is not a lone activity. Make sure you have someone nearby just in case something goes wrong. Likewise, have a first aid kit along.
- Wear protective gear. As with most serious activities, you should always protect yourself by wearing:
- Boots
- Earplugs or safety headphones
- Gloves
- Goggles
- A hard hat
- Long pants, if not chaps
- Do not climb a tree with your chainsaw or saw on a ladder. If you need to saw something higher than you can easily reach without having the saw above your head, you may want to:
- Invest in a pole saw that will allow you a longer reach.
- Call a professional with the tools and experience to manage the project.
- Never use the nose of your saw to cut. The nose of your chainsaw is the kickback zone.
- Let your chainsaw cool before refueling.
- Keep your chainsaw out of children’s reach. You think your power tools are cool. Kids are even more fascinated by them. Don’t tempt them with this one.
It’s Time to Build Your Chainsaw
Whether you are working on projects around the house, storing up your firewood for the winter, or creating some incredible sculptures, you have several options as to how you’re going to build the perfect chainsaw for your needs.
Related Posts:
Can You Use a Chainsaw Without Bar Oil?
Sharpening Your Chainsaw In The Field
This is Why You Must Not Use A Chainsaw in the Dirt
